So after a long break due to real life, I am back on the project. Started to tackle the 6 non-hero panels. As mentioned at the beginning, it is impossible to find a definitive resource of "accurate" panels, since they were swopped around, greeblies falling off and reattached elsewhere, and the distinctive differences of the panels between the Carbonite chamber room, the corridor, and then ROTJ unfreezing scene. So with that, here's my take.
The panels were sprayed black, and the windows were aluminium sheets. One for the square, and one for the rest of the windows as I could not find aluminium sheets of the right length.
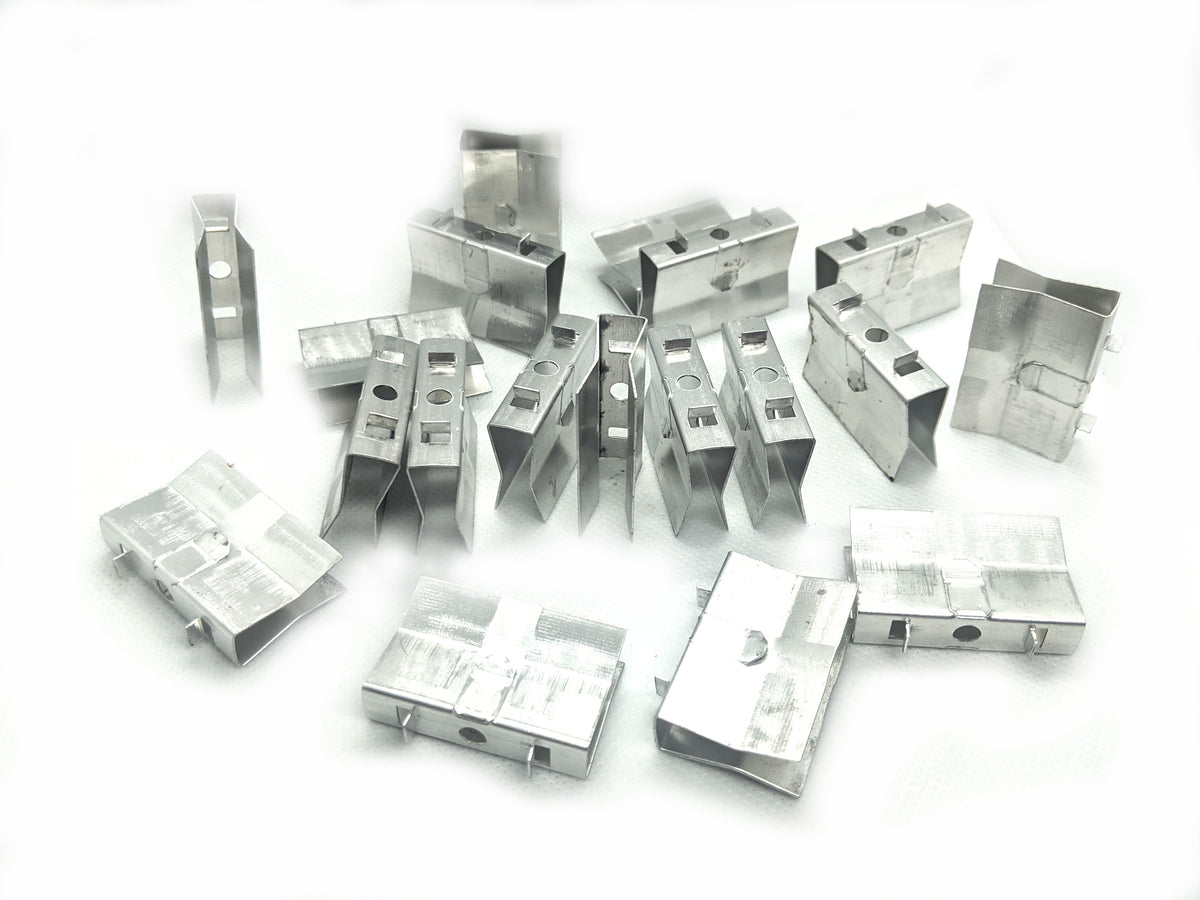
The rings were cut from an aluminium tube, and the "buttons" were some stainless steel electrical wire sleeves I found. The big round disc and several other small greeblies were from shapeways. Decals were vinyl stickers made by me.
View attachment 188454