You are using an out of date browser. It may not display this or other websites correctly.
You should upgrade or use an alternative browser.
You should upgrade or use an alternative browser.
Jango build for a member
- Thread starter Cruzer
- Start date
Cruzer
Well-Known Hunter
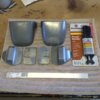
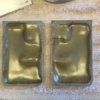
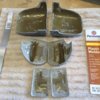
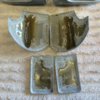
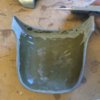
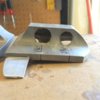
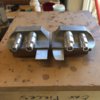
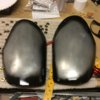
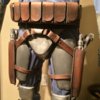
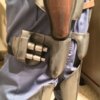
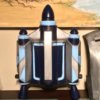
The weathering has begun, using Rustoleum Dark Grey Primer followed by splatters of satin or flat black. I call it "lazy man's" weathering because for the armor I basically over spray the outer edges, wait for it to semi-dry and then begin taking the primer off where I don't want it by blotting it with a rag followed by rubbing it with fine steel wool.
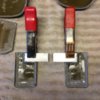
In the case of the gauntlets, knees, and jetpack where there are more nooks and crannies, I begin blotting the over spray areas right away to take away most of the primer so there is less to remove once it begins drying. In some harder to reach areas like between the knee darts or under the slider switch or missile tip, I even might hit it quickly with a paint brush to rough up the smooth paint surface and give it some texture. The random splatters of black paint are created by gently pressing the nozzle of an almost empty can of black paint.
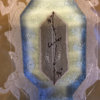
The leather also received some light misting of primer, followed with rag wipe removal, black splatter, and then roughing up with 320 sand paper in the areas that would typically see more wear.
CAUTION: I do not recommend using the overspray method with the helmet because the over abundance of primer will react negatively with the Krylon Ocean blue. Instead I recommend spraying the primer in a disposable cup and applying with a small brush.


Last edited by a moderator:
Cruzer
Well-Known Hunter
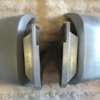
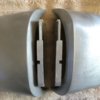
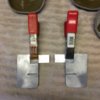
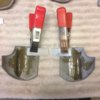
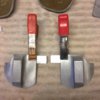
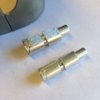
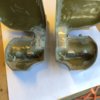
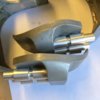
Cruzer, if you can, please take a pic of those knee darts I sent you next to a pair of Dark Side darts so we can show the class (and me) the difference and my error.
Beware of the eBay seller selling mini knee darts...Skyfire would know the seller's name. They actually would be perfect for any mini/kid Fetts. Darkside's are on the left...

Last edited by a moderator:
Cruzer
Well-Known Hunter
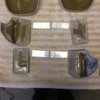
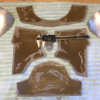
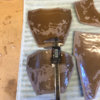
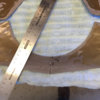
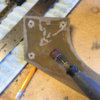
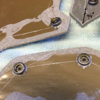
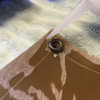
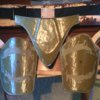
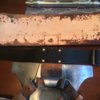
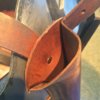
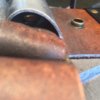
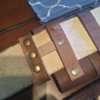
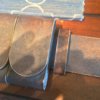
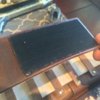
Here is the leather ensemble break down in its simplest form. The ammo belt attaches to the girth belt via three small Chicago screws in the belt loops of the middle and outer pouches. The girth belt attaches to the holster assembly via a single snap. The cod attaches to the holster assembly via a single medium Chicago screw, with the thighs attaching via medium Chicago screws in each. All sticky back Velcro is tacked down along the edges with CA glue...





Last edited by a moderator:
Cruzer
Well-Known Hunter
You would just want to follow the hinge tutorial sticky at the top. I can also post more detailed pics of these gauntlets if you'd like...just let me know.Cruzer,
Do you have this nice of a photographic capture of building the gauntlets? I would LOVE to see how you attached everything on those and did the hoses.
Thanks!
Dunesoldat
New Hunter
Awesome thread, thanks for the info!
clockworkronin
Jr Hunter
Maybe it's because I'm on mobile and I didn't see , but how much do you charge for a build service?
Cruzer
Well-Known Hunter
Maybe it's because I'm on mobile and I didn't see , but how much do you charge for a build service?
There are parts I can't provide such as the vest, flight suit, gloves, blasters, boots, and jetpack. So if a member can obtain those parts on their own, then my part of the build comes out to around $2400.
Last edited by a moderator:
Cruzer
Well-Known Hunter
Thanks guys for the compliments :$
Just a heads up to anyone wanting to build their own girth belt:
***The natural color braided bolo on ebay that is listed as "6mm Natural Beige Bolo Braided Leather Cord Necklace 1 yard to 55 yards (50 m)" sold by the seller "nycnecklace" is 6 ply (not the accurate 4 ply) and has a clear coat that doesn't allow the leather to take stain. Luckily the 55 yards I ordered is returnable according to the auction. I'm already looking for another good source since it looks like the previous ebay supplier is no longer listing the accurate 4 ply natural bolo...will keep you guys updated.
RaceTrack
New Hunter
Cruzer.......fantastic work man, I'm really impressed. Just beginning my build and pinning down the armor and leather works. Is this something you make or take commissions for? I'm just finishing up my first build, a TD, and wanting to start on Jango in the next 30 days. Would love to know what you can provide to help me thru to completion. Would be looking to purchase and assemble myself, and not in a hurry, I need to troop some in this TD anyway. I really would appreciate any information, and pricing you can provide....Thanks a million.
Hagan aka RaceTrack
Ratliff_wh@yahoo.com
Hagan aka RaceTrack
Ratliff_wh@yahoo.com
The Clayster
Well-Known Hunter
Totally solid!
Similar threads
- Replies
- 10
- Views
- 1,225
Similar threads
- Replies
- 10
- Views
- 1,225

